Purpose
The Trim Trusses and Profile Planes options provide greater control in defining hipset profiles. You can create hipsets in the following ways:
-
Use Auto trim and Auto profile planes to automatically set truss boundaries and truss profile planes.
-
Use Auto trim and 3-Plane auto-cut to create common hip sets (3 planes, with 2 corner sets). With this feature, you can specify three planes and have all of the trusses and jacks created using the selected planes.
-
Use Auto trim/Selected Planes Only to automatically define truss boundaries, but manually select certain planes.
-
Use Trim > Set End Lines and Profile Planes > Selected Planes Only to manually define all hipset input.
Steps
 Watch video
Create 3-Plane Hipset
Use this when you have three planes in a hipset.
- From the Truss Placement menu select Hip Set or click
 .
.
The Hip Set dialog displays.
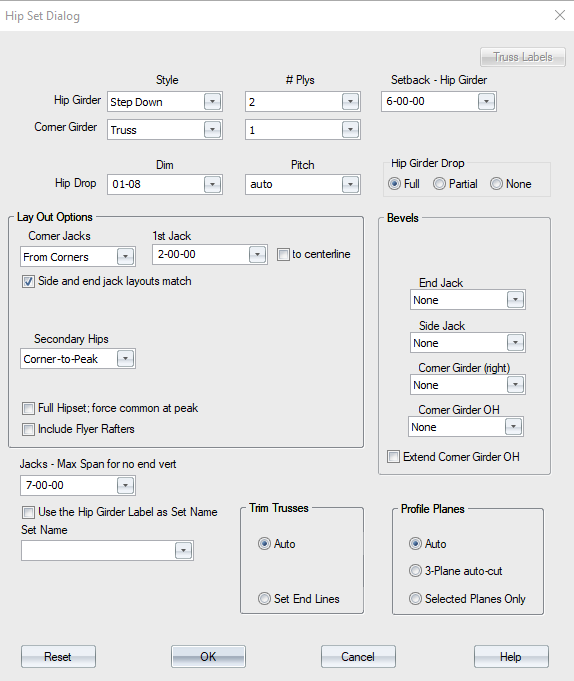
2. Under the Trim Trusses section, select Auto.
3. Under the Profile Planes section, select 3-Plane auto-cut and click OK.

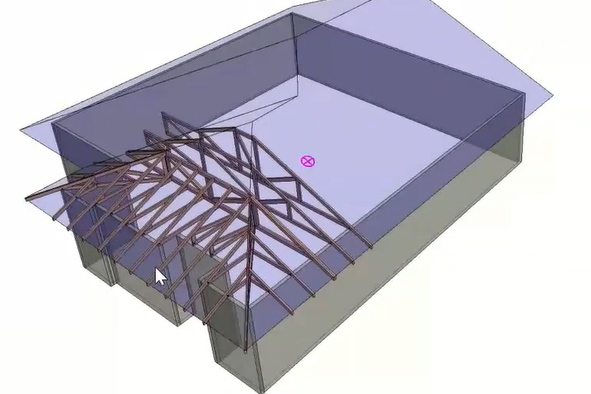
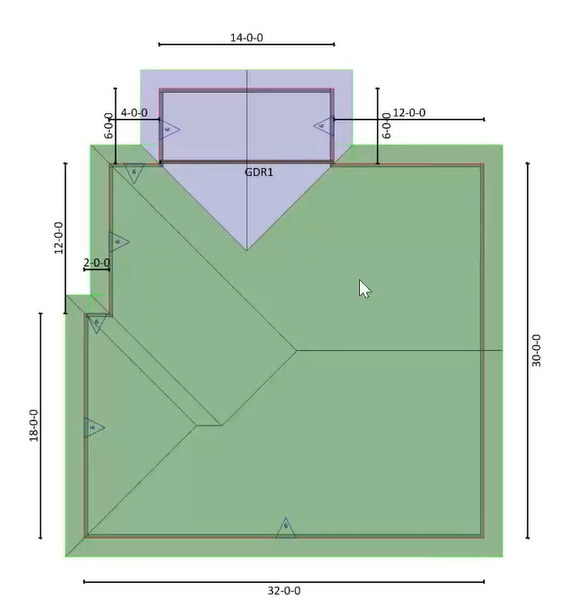
The dialog closes and you are prompted to select the top chord planes.
4. Select the three planes in any order.
An example is shown below.
5. Repeat this process for the bottom chord.
6. Right-click to add the hipset and exit the command.
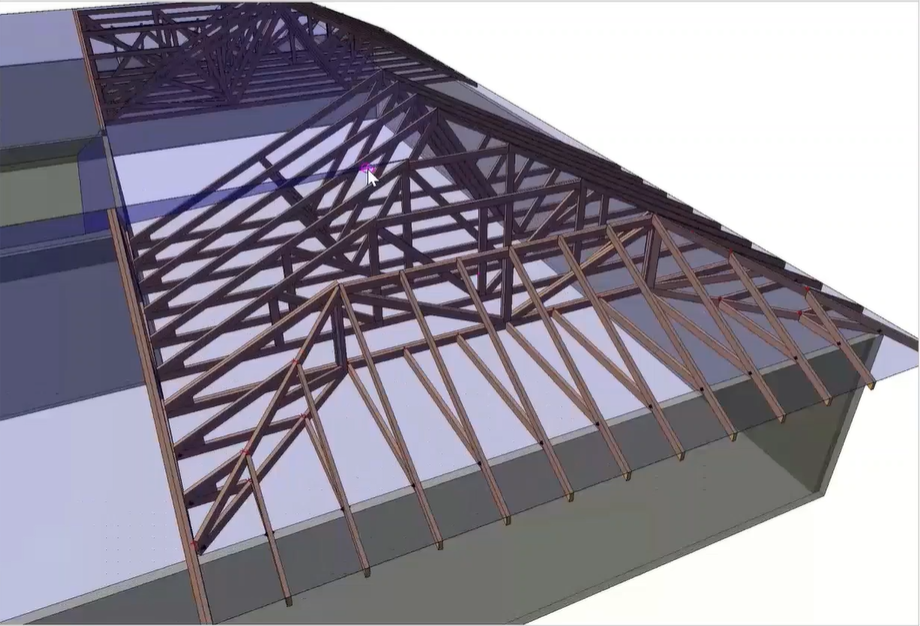
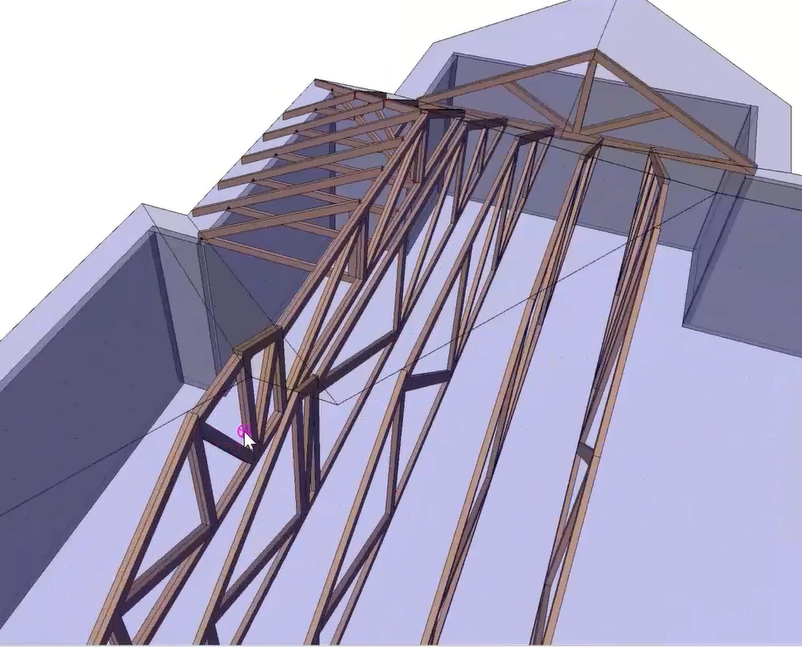
The three selected planes are used to create a standard hipset (common trusses also follow 3 planes).
Use Select Planes Only
Use this option any time you are working with a hipset with more than 3 planes or you want to select only specific planes.
1. Under the Trim Trusses section, select Auto.
2. Under the Profile Planes section, select Select Planes Only and click OK.

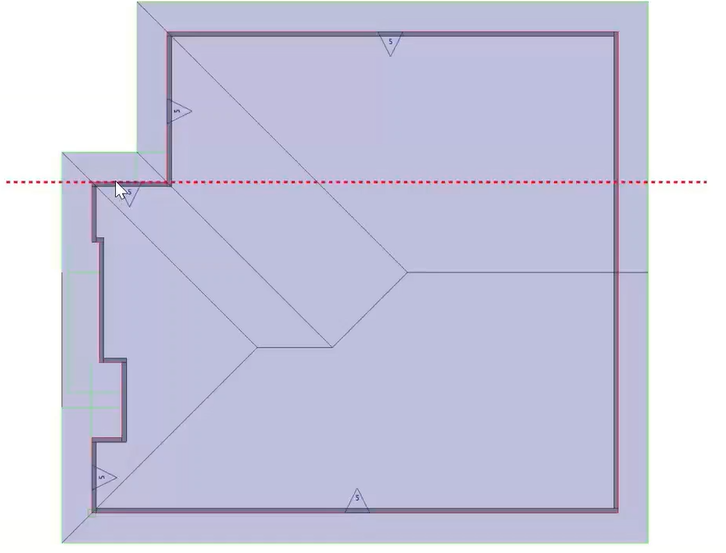
You are prompted to select the planes for the top chord.
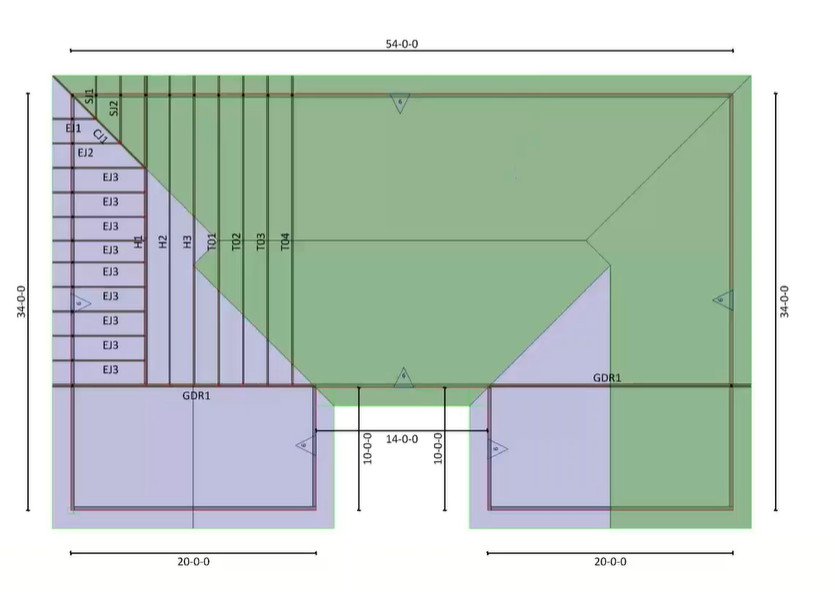
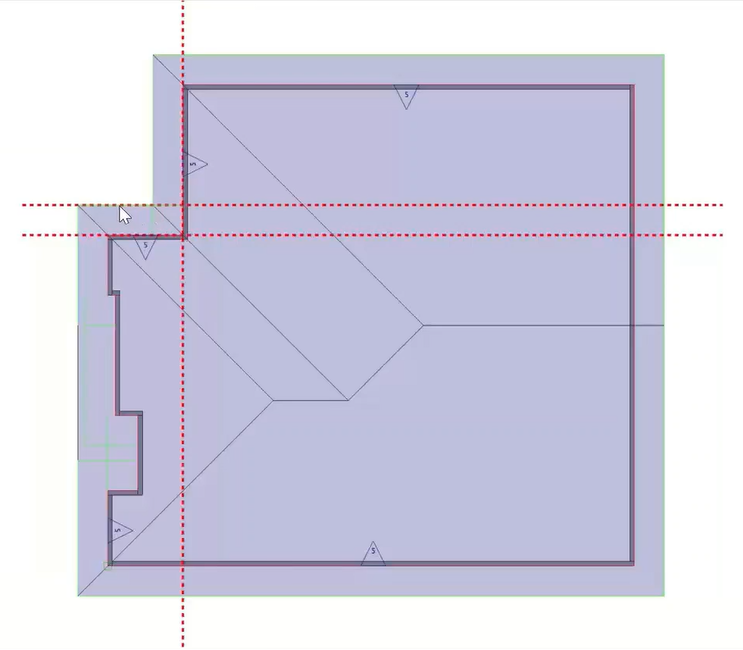
3. Select the planes you want to include in the hipset. In the example below, multiple planes have been selected.
4. Follow the prompts to select corner girders/hip rafters (right-click for none).
5. Select a wall to measure setback from, as prompted.
6. Click to indicate the stop wall for truss placement or drag a line to indicate the placement.
7. Right-click to finish the truss placement.
An example is shown below.
Use Set End Lines
This option lets you manually choose your truss boundaries but automatically profile planes.
1. Under the Trim Trusses section, select Set End Lines.
2. Under the Profile Planes section, select Auto and click OK.

3. Follow the prompts displayed to select trim lines for the bottom chord of the truss.
4. Repeat this procedure for the top chord.
5. Repeat the process for the bottoms chords along the front side.
6. Right-click to accept.
7. Select the front line to measure the setback.
The hipset is placed.